How to create your own home pentesting lab
by yunaranyancat
Chapter 1 : Installing a virtual machine in a Virtualbox
Hey there, for today, I will show you how to create a virtual machine.
First, we need to install necessary application that will serve our virtual machines (VM). In this case, I will use Virtualbox. You can install Virtualbox using this link and download the binary based on your OS.
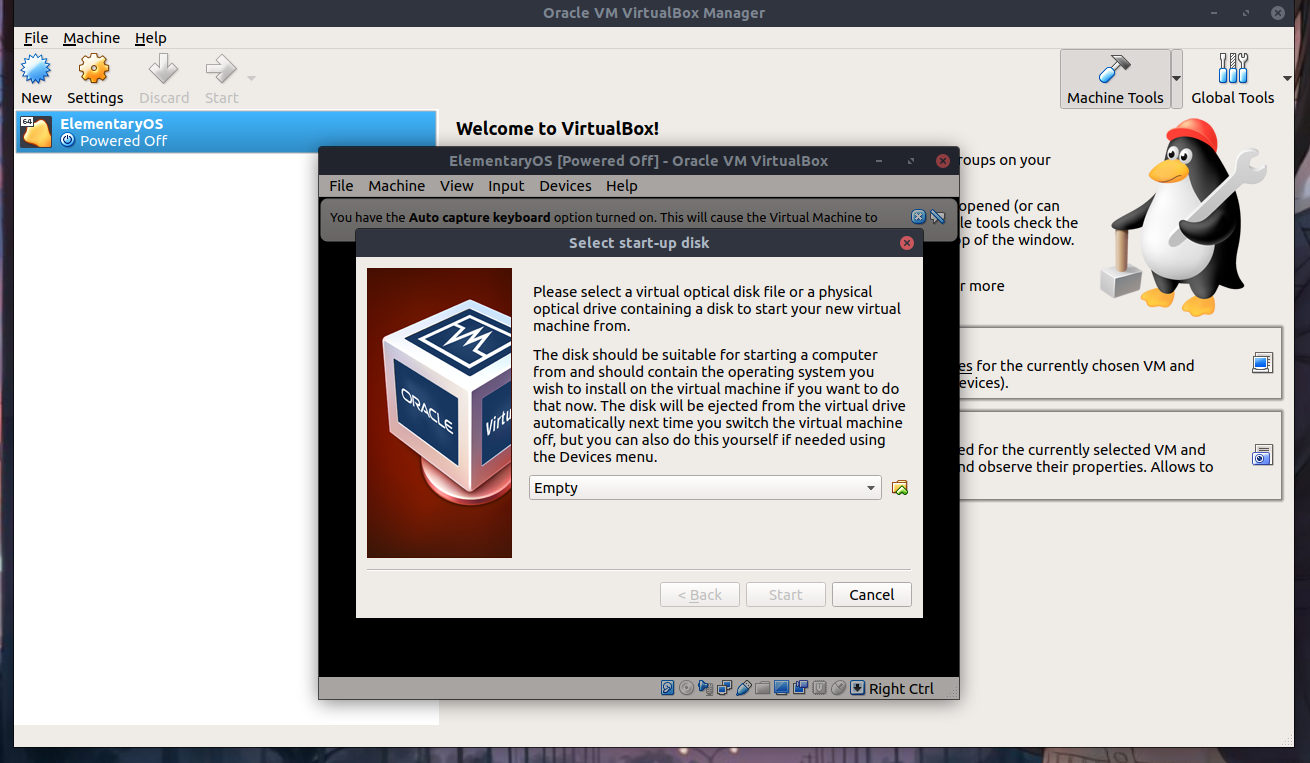
After successful installation , launch the application and you will be prompted with this window.
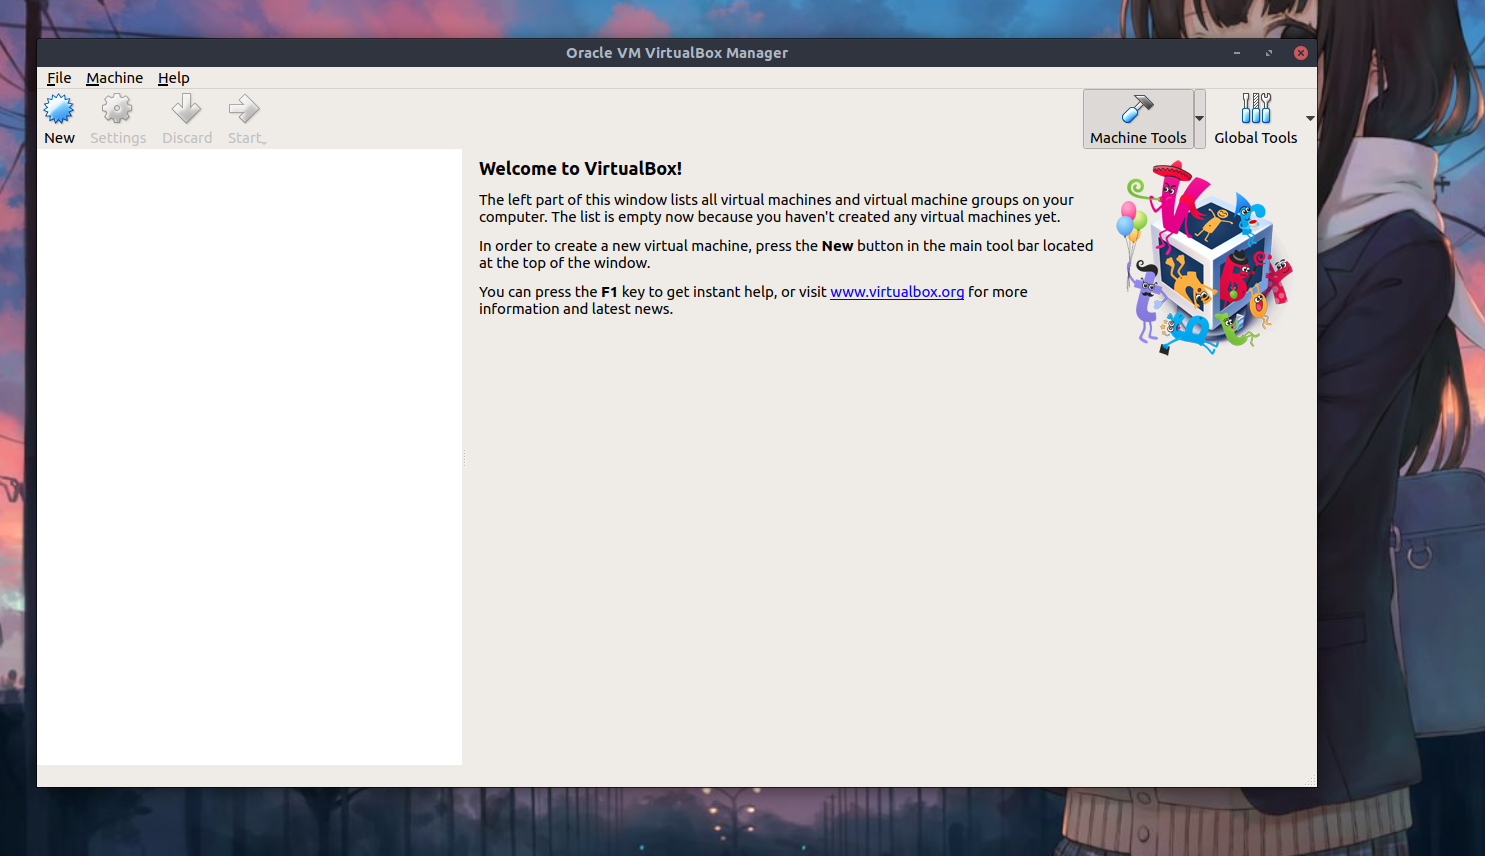
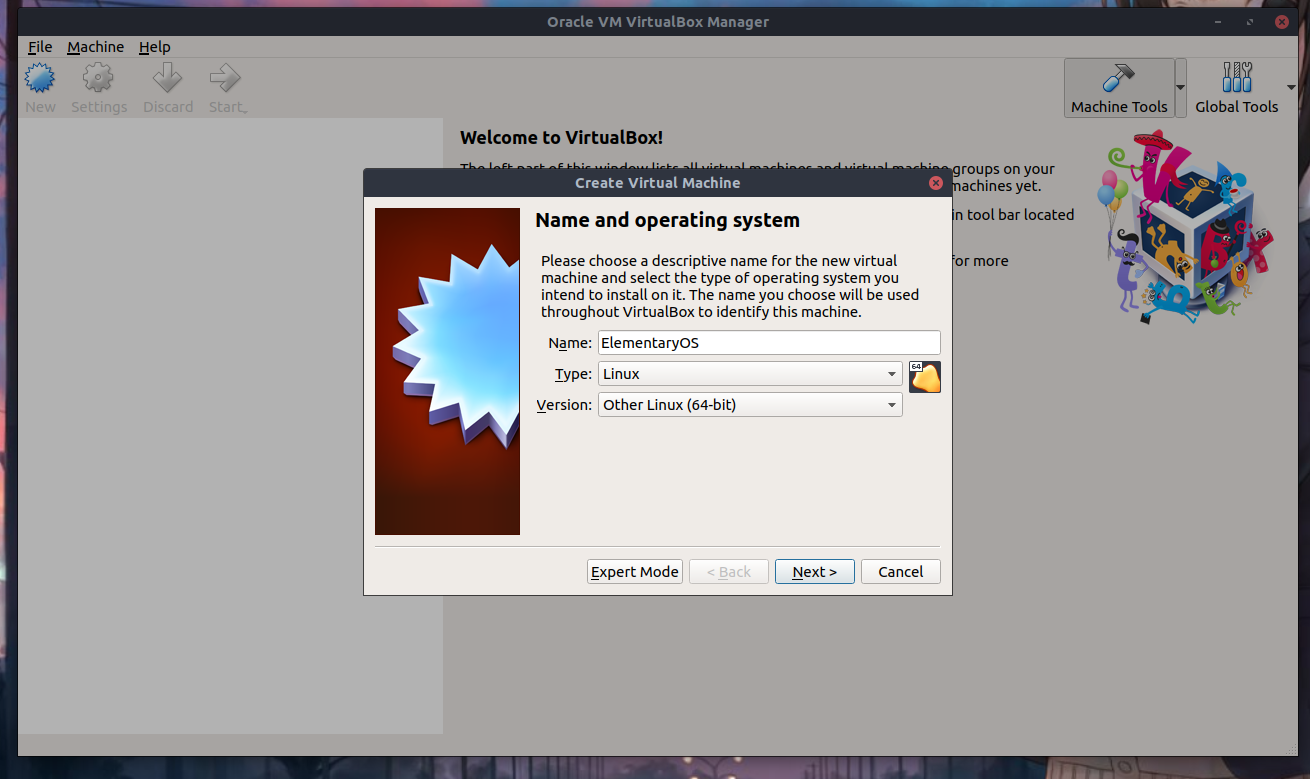
Click the “New” button and fill in the necessary information. For this case, I will use 64-bit ElementaryOS 5 that I got from this site.
For virtualization, you need a sufficient amount of RAM for your vm to run smoothly and for your main OS / host machine.
Friendly note : At least leave 50% of your total RAM for the host machine.
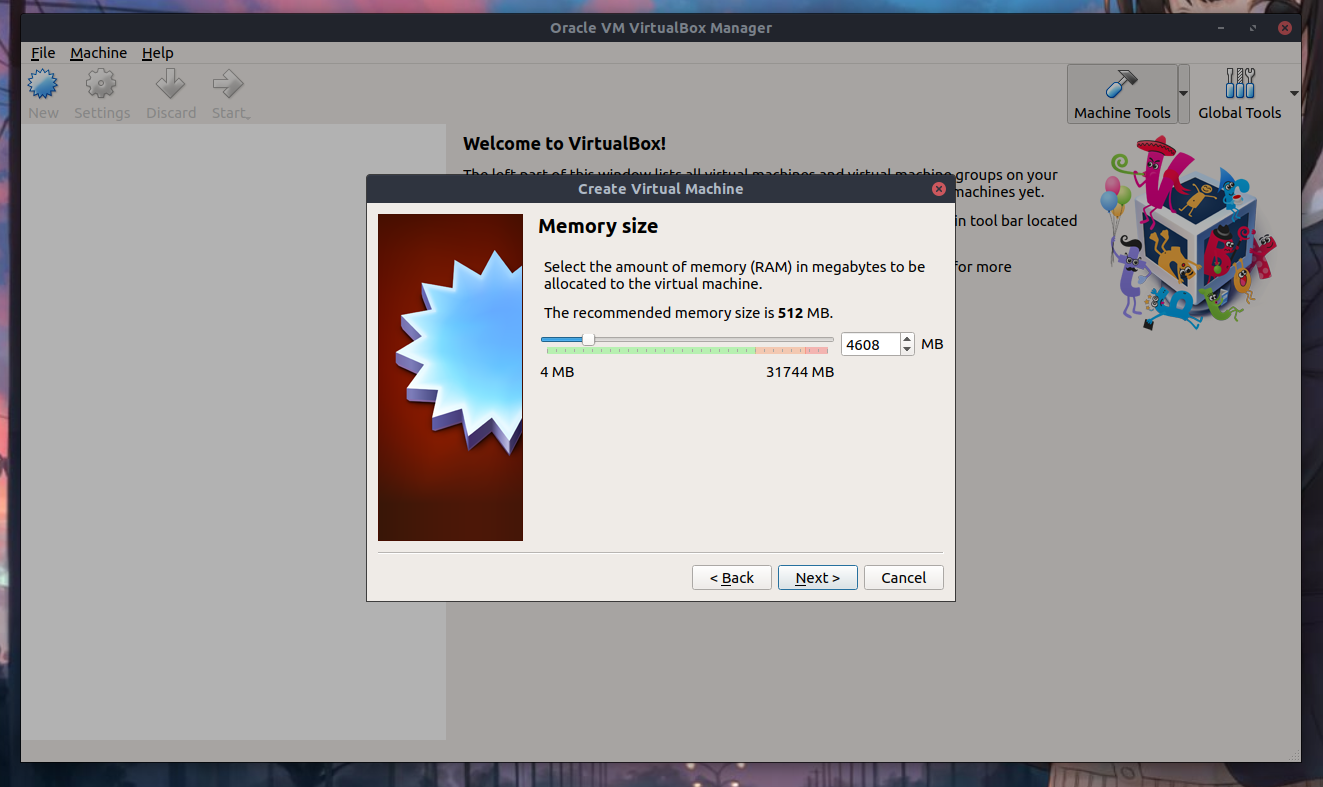
So, in my case, I have 32 GB of RAM in total so I will only allocate 4GB to my ElementaryOS vm.
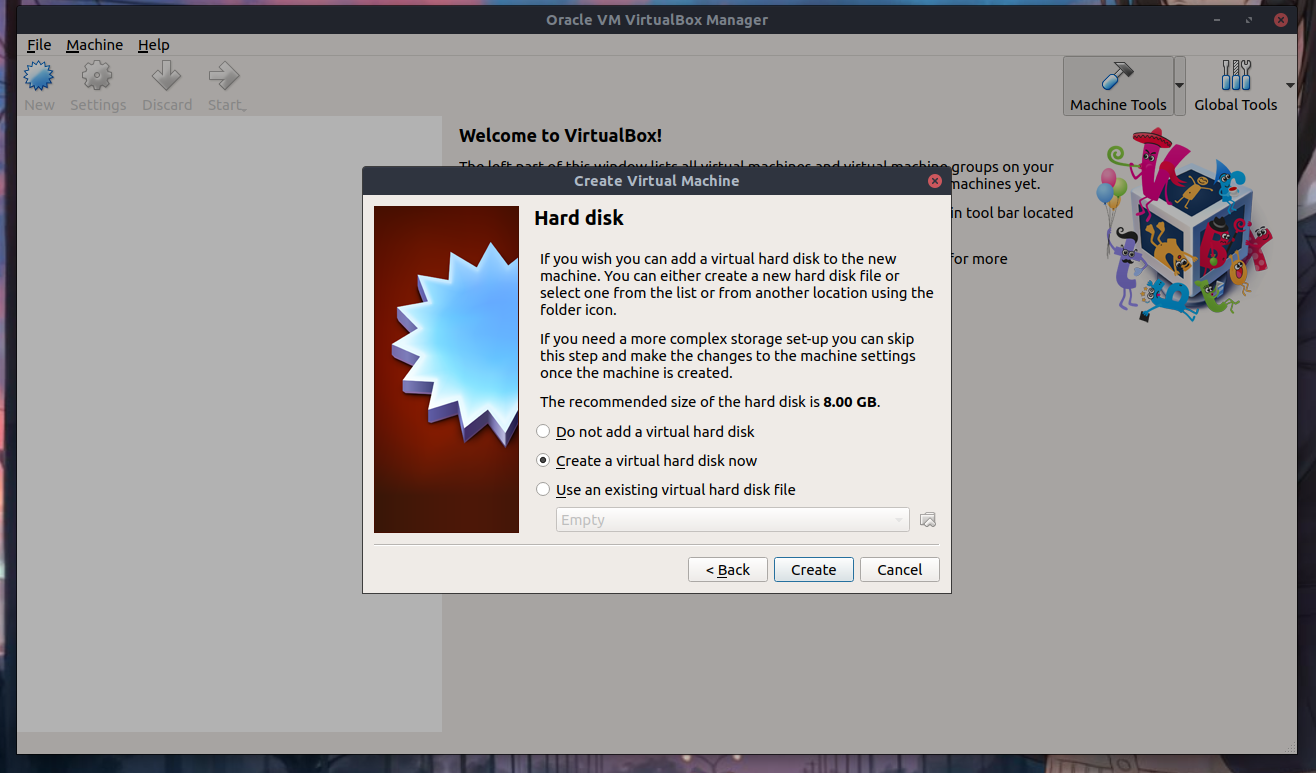
After clicking next, we will be prompted with three options for our vm hard disk. We will choose the middle one and then click “Create” as showed in the figure below.
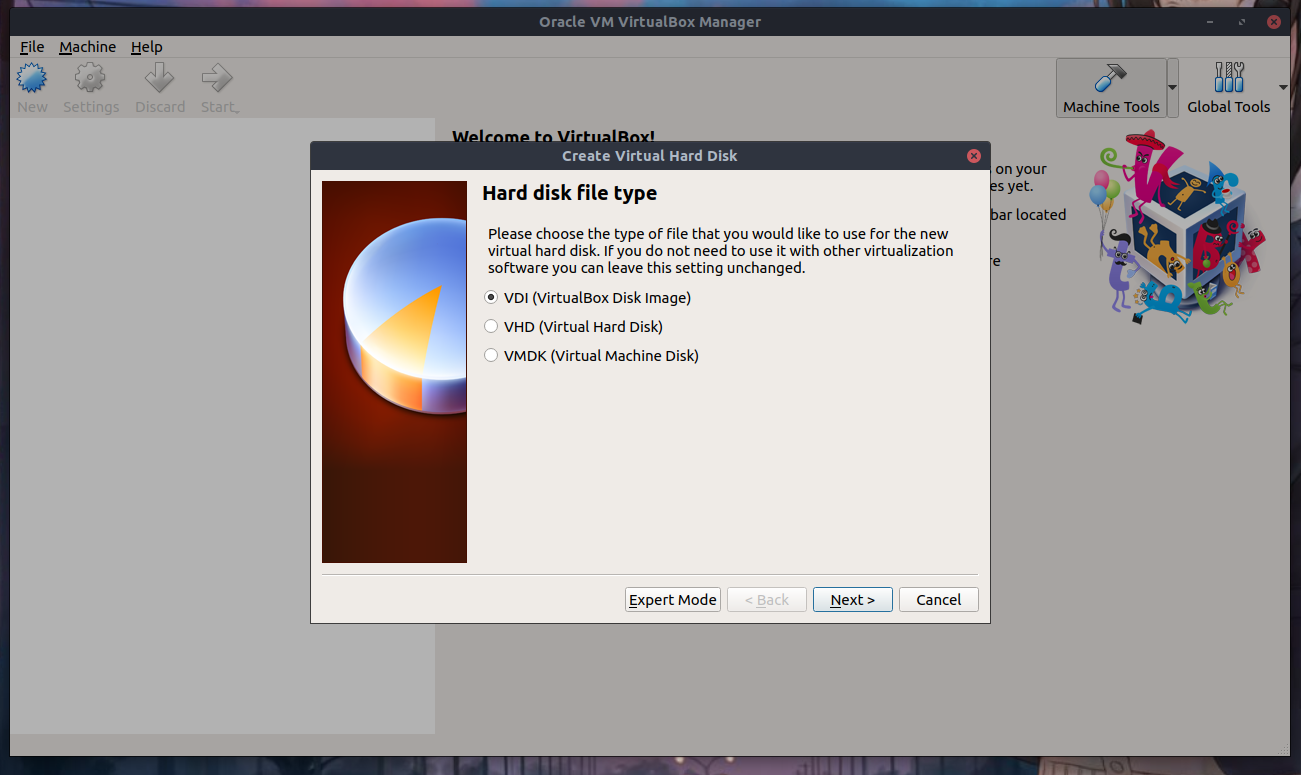
After that, choose the first type for our hard disk, VDI. I will not cover how these three options vary to each other but the first is normally the best. :P
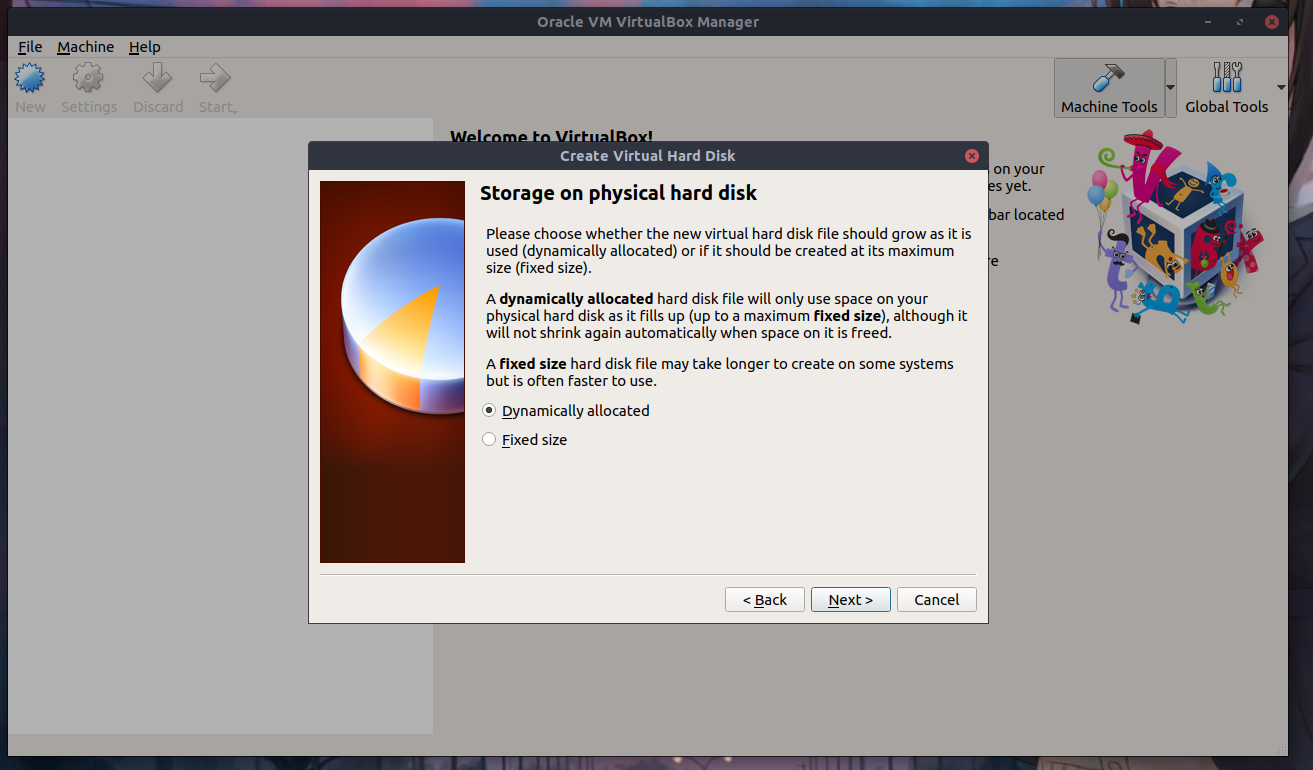
Choose Dynamically allocated (the differences are shown in the image)
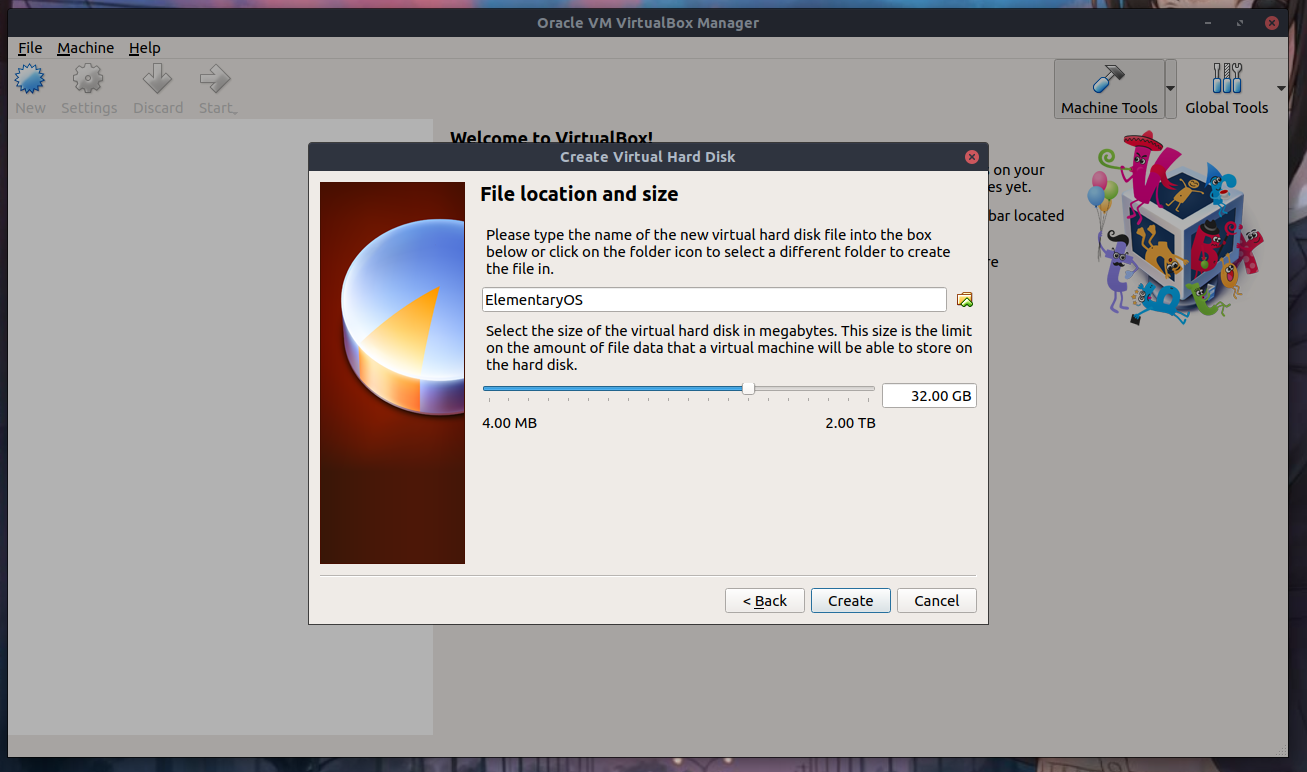
You need to allocate sufficient amount of virtual hard disk for your vm to function at the optimum performance. Too little, you will experience lags and bugs and crashes, too much, you’ll use your next allowance to purchase a bigger hard disk storage.
and voila! We got our first vm! But we are not there yet..
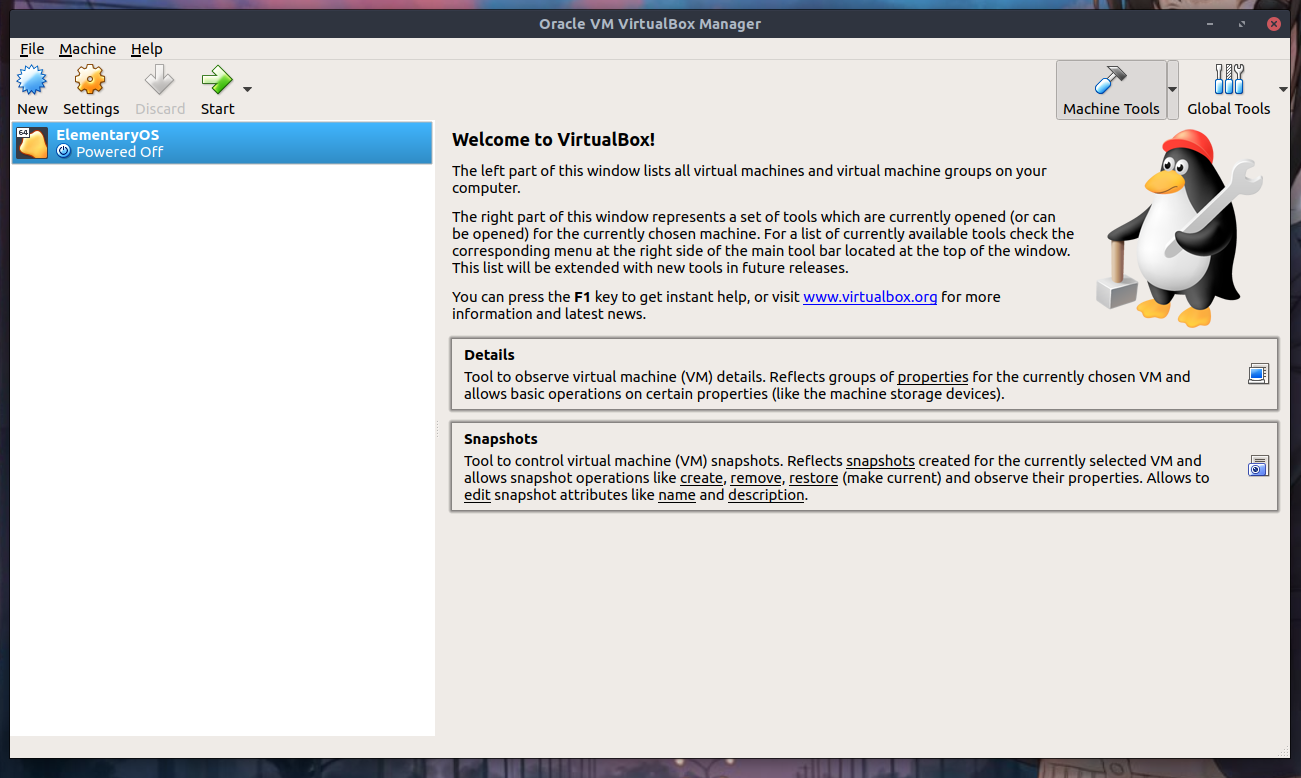
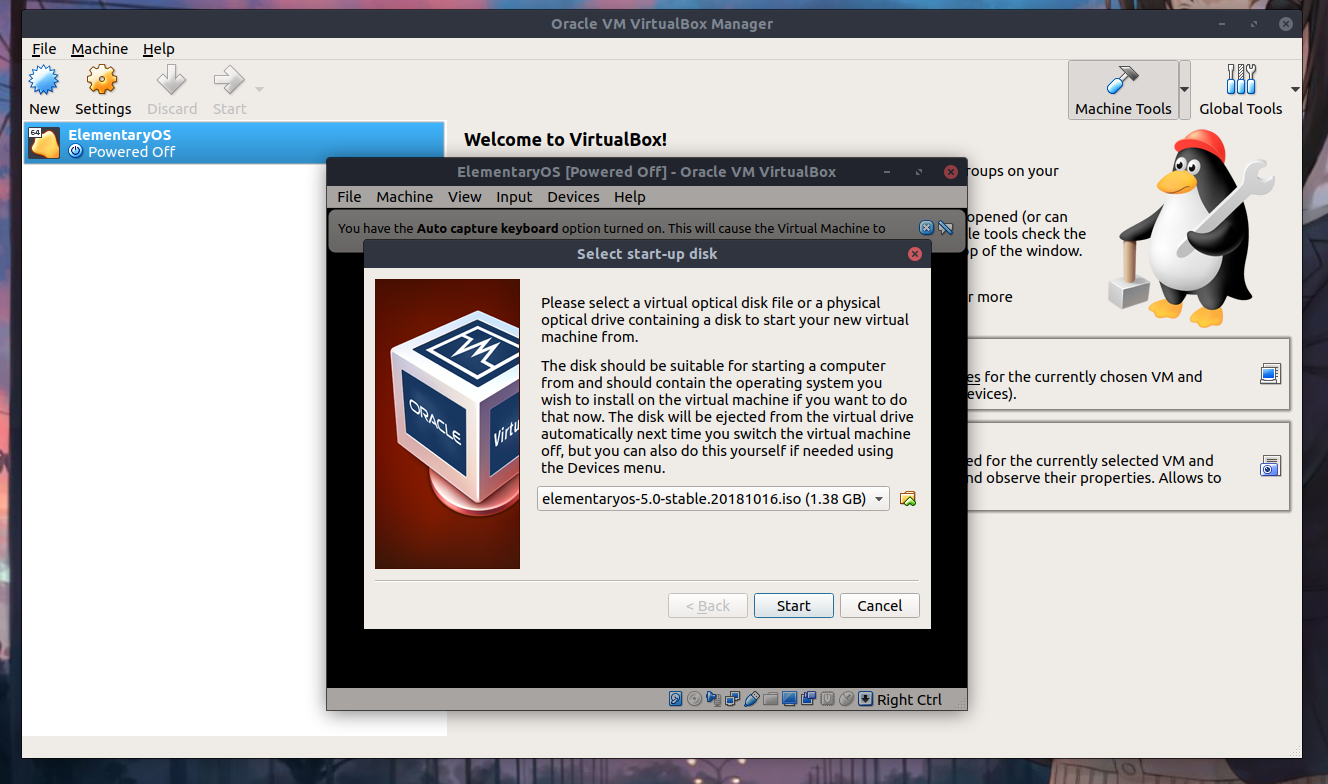
Click at the start button and we will be asked for the operating system of the vm.
Choose the correct OS and the correct architecture,
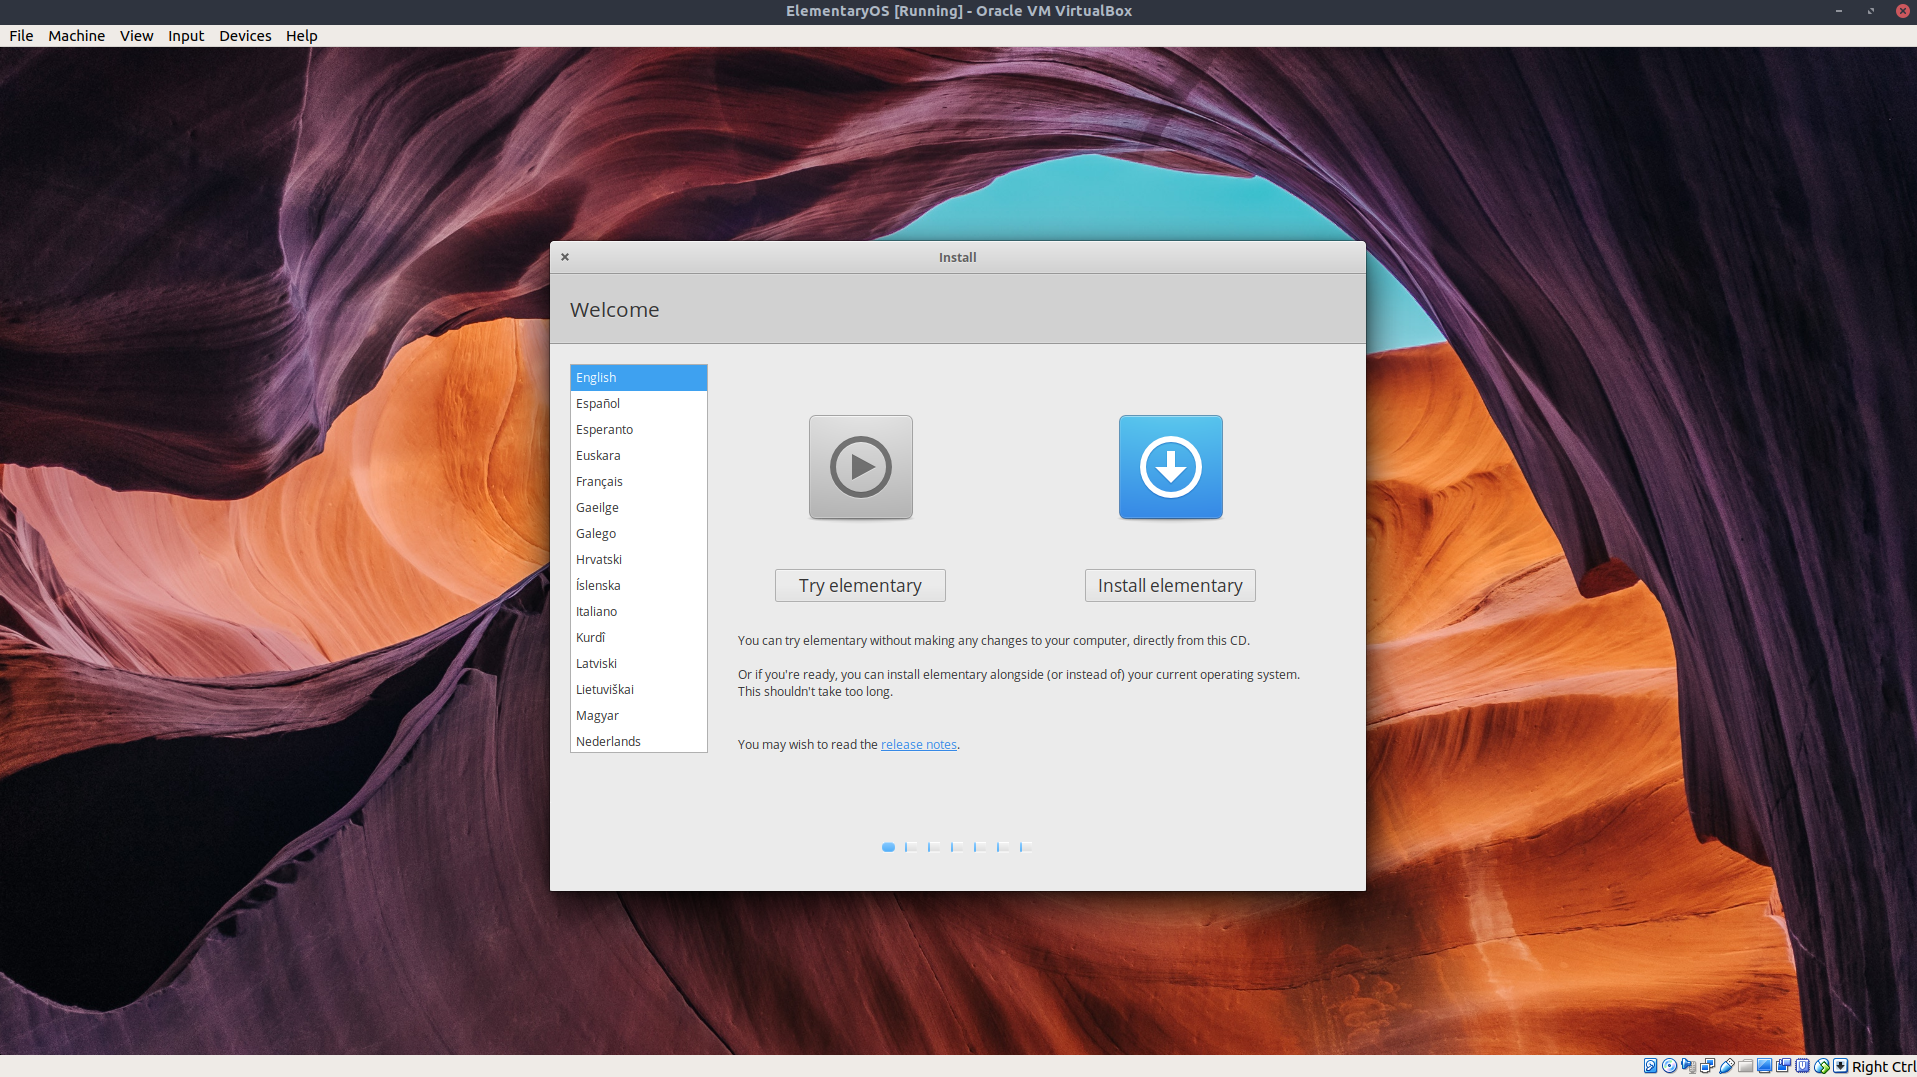
We are at the installation phase of the OS in the virtual machine we created just now. Click Install elementary and follow the installation procedures and configurations as you advance and we are done!
Thank you and have a nice day! :D